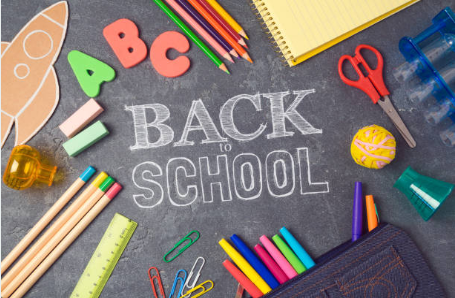
How to Create Your Own Back To School Chalkboard
Special shoutout to Krystal Candler, one of our Featured Artists for her help on this week's blog!
The time has come again for BACK TO SCHOOL. Everyone is posting their cute kids with their awesome chalkboard signs. They say what they want to be when they grow up with little doodles and fun bright colors. You’re thinking to yourself why didn’t I do that? With the help of VersaChalk markers and the chalkboards they have available, you can! I’m here to show you how.
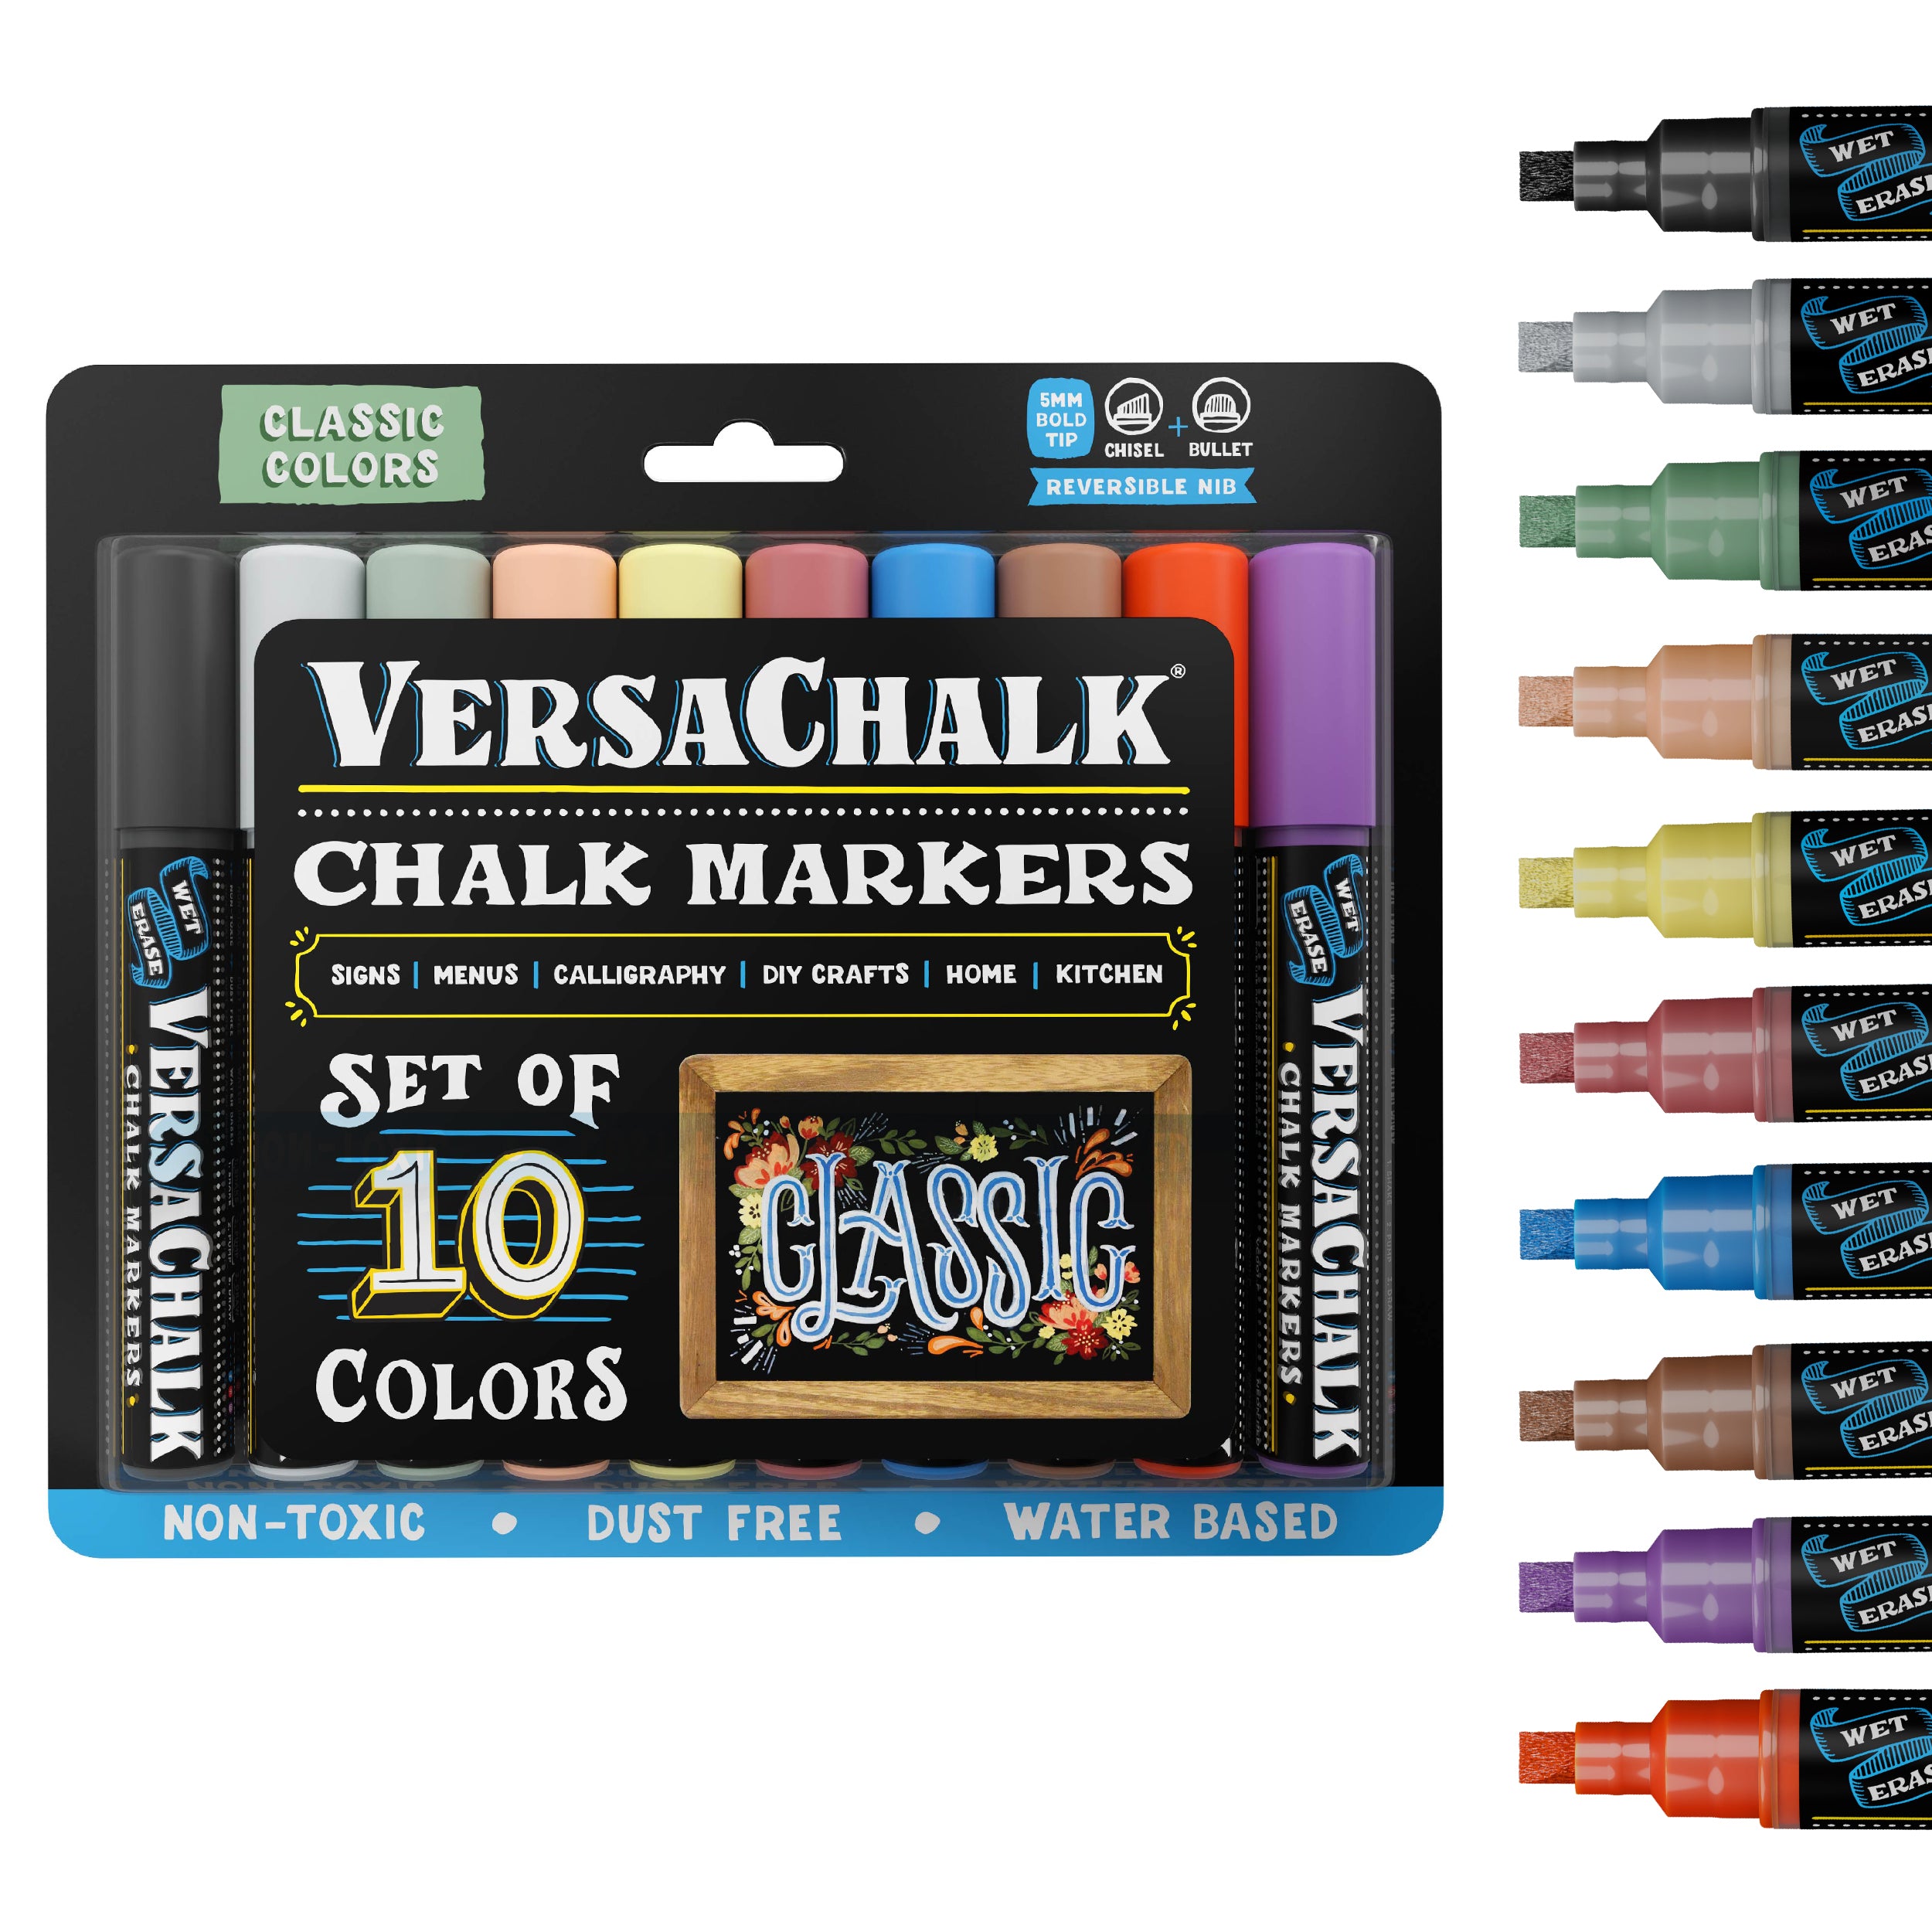
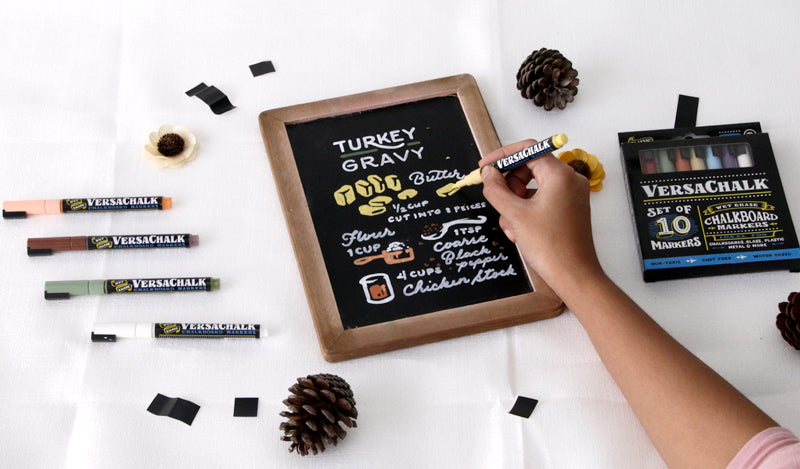
Materials Used:
Start out with seasoning your board (or priming your board, click here for a longer blog about this), you'll want to cover the surface with chalk. Start in a corner and go up and down, then left to right. Next, take a dry rag and rub the chalk around and get the excess off. You’re now prepared to start writing.

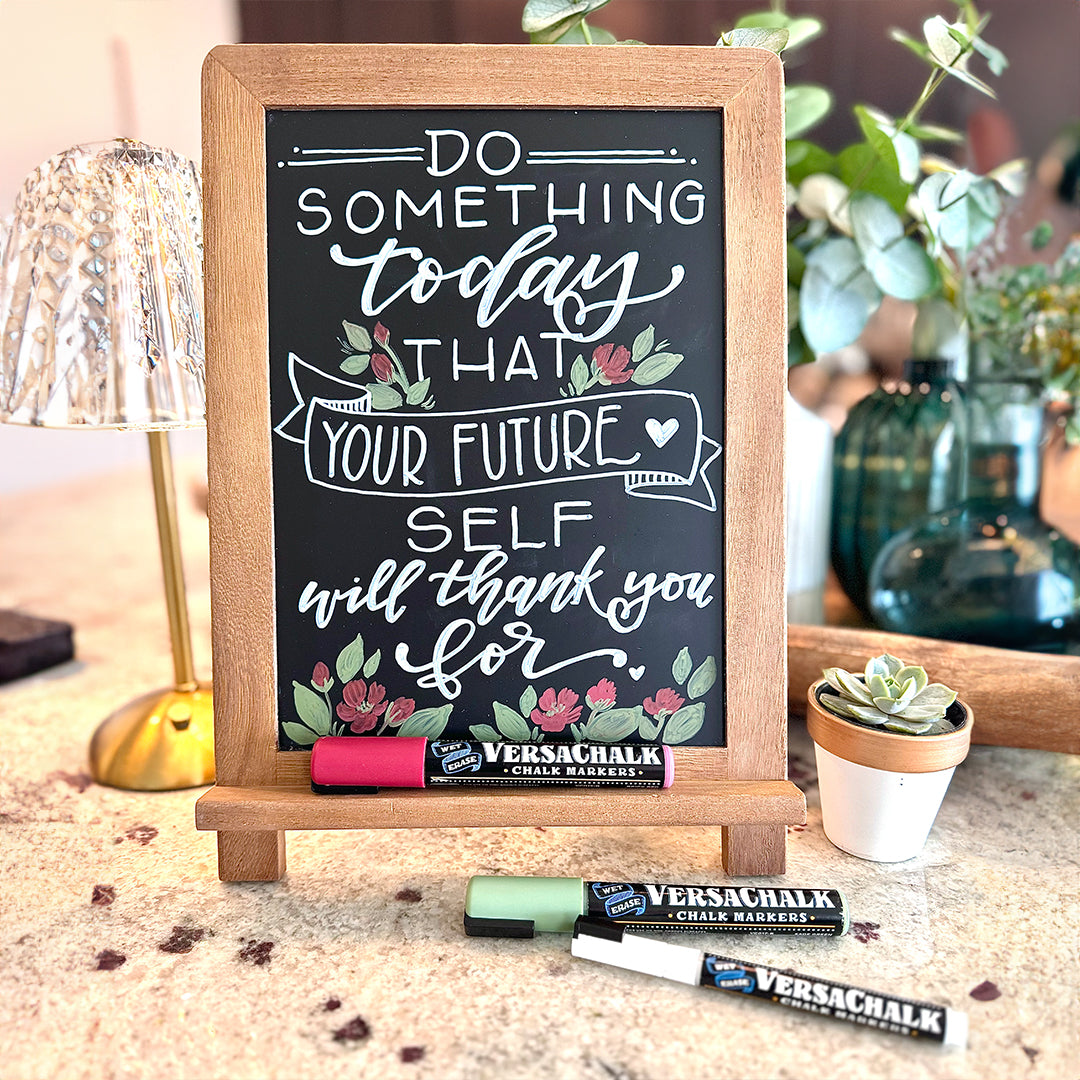
I usually do everything freehand, but you can begin with a banner of some sort or just their name written with some bunting flags. Get creative! You’ll also want to decide where you’d like to divide the sections. Using some type of cute border to separate them, like dots or straight lines. Maybe some cute hearts or swirls. Using all the VersaChalk colors will give you a fun eye-catching board.

You will need is a little bit of info from those silly kids. Ask them what they want to be when they grow up. Ask them what their favorite activity is. Have a moment with them to create a lasting memory! Arrows, borders, banners and so much more!