Seasoning a Chalkboard: The Complete Guide
Why Season a Chalkboard?

Seasoning a chalkboard (also known as priming) is necessary prior to use. Without seasoning, any marks you make on the chalkboard will leave “ghosts”—meaning the marks will never erase completely. Whether you’re using chalkboard paint or a store-bought board such as a calendar, a-frame, or classic chalkboard, you need to season your chalkboard prior to use to avoid ghosting.
The seasoning process creates a fine layer of dust that settles into the grain of the chalkboard. Grain refers to all the fine lines, indentations, and divots that you may not otherwise see, but that are present in both painted and slate chalkboards. These tiny indentations will hold chalk dust below the surface of the board. By filling them with an even layer of dust ahead of time, you’ll ensure that your words and drawings will rest completely on the surface—and will easily erase when it’s time to start your next project.
The good news is that seasoning a chalkboard is a quick, easy process. In just a few steps you’ll be using your chalkboard, and bringing all your art to life!
Step-by-Step Instructions
Click here for the video walkthrough
Ready to begin seasoning a chalkboard? Here’s a step-by-step guide for you:
- If seasoning a painted chalkboard, be sure that the paint has dried/cured appropriately. Follow the manufacturer’s instructions, and remember to add extra time if the air is humid or if your conditions otherwise vary.
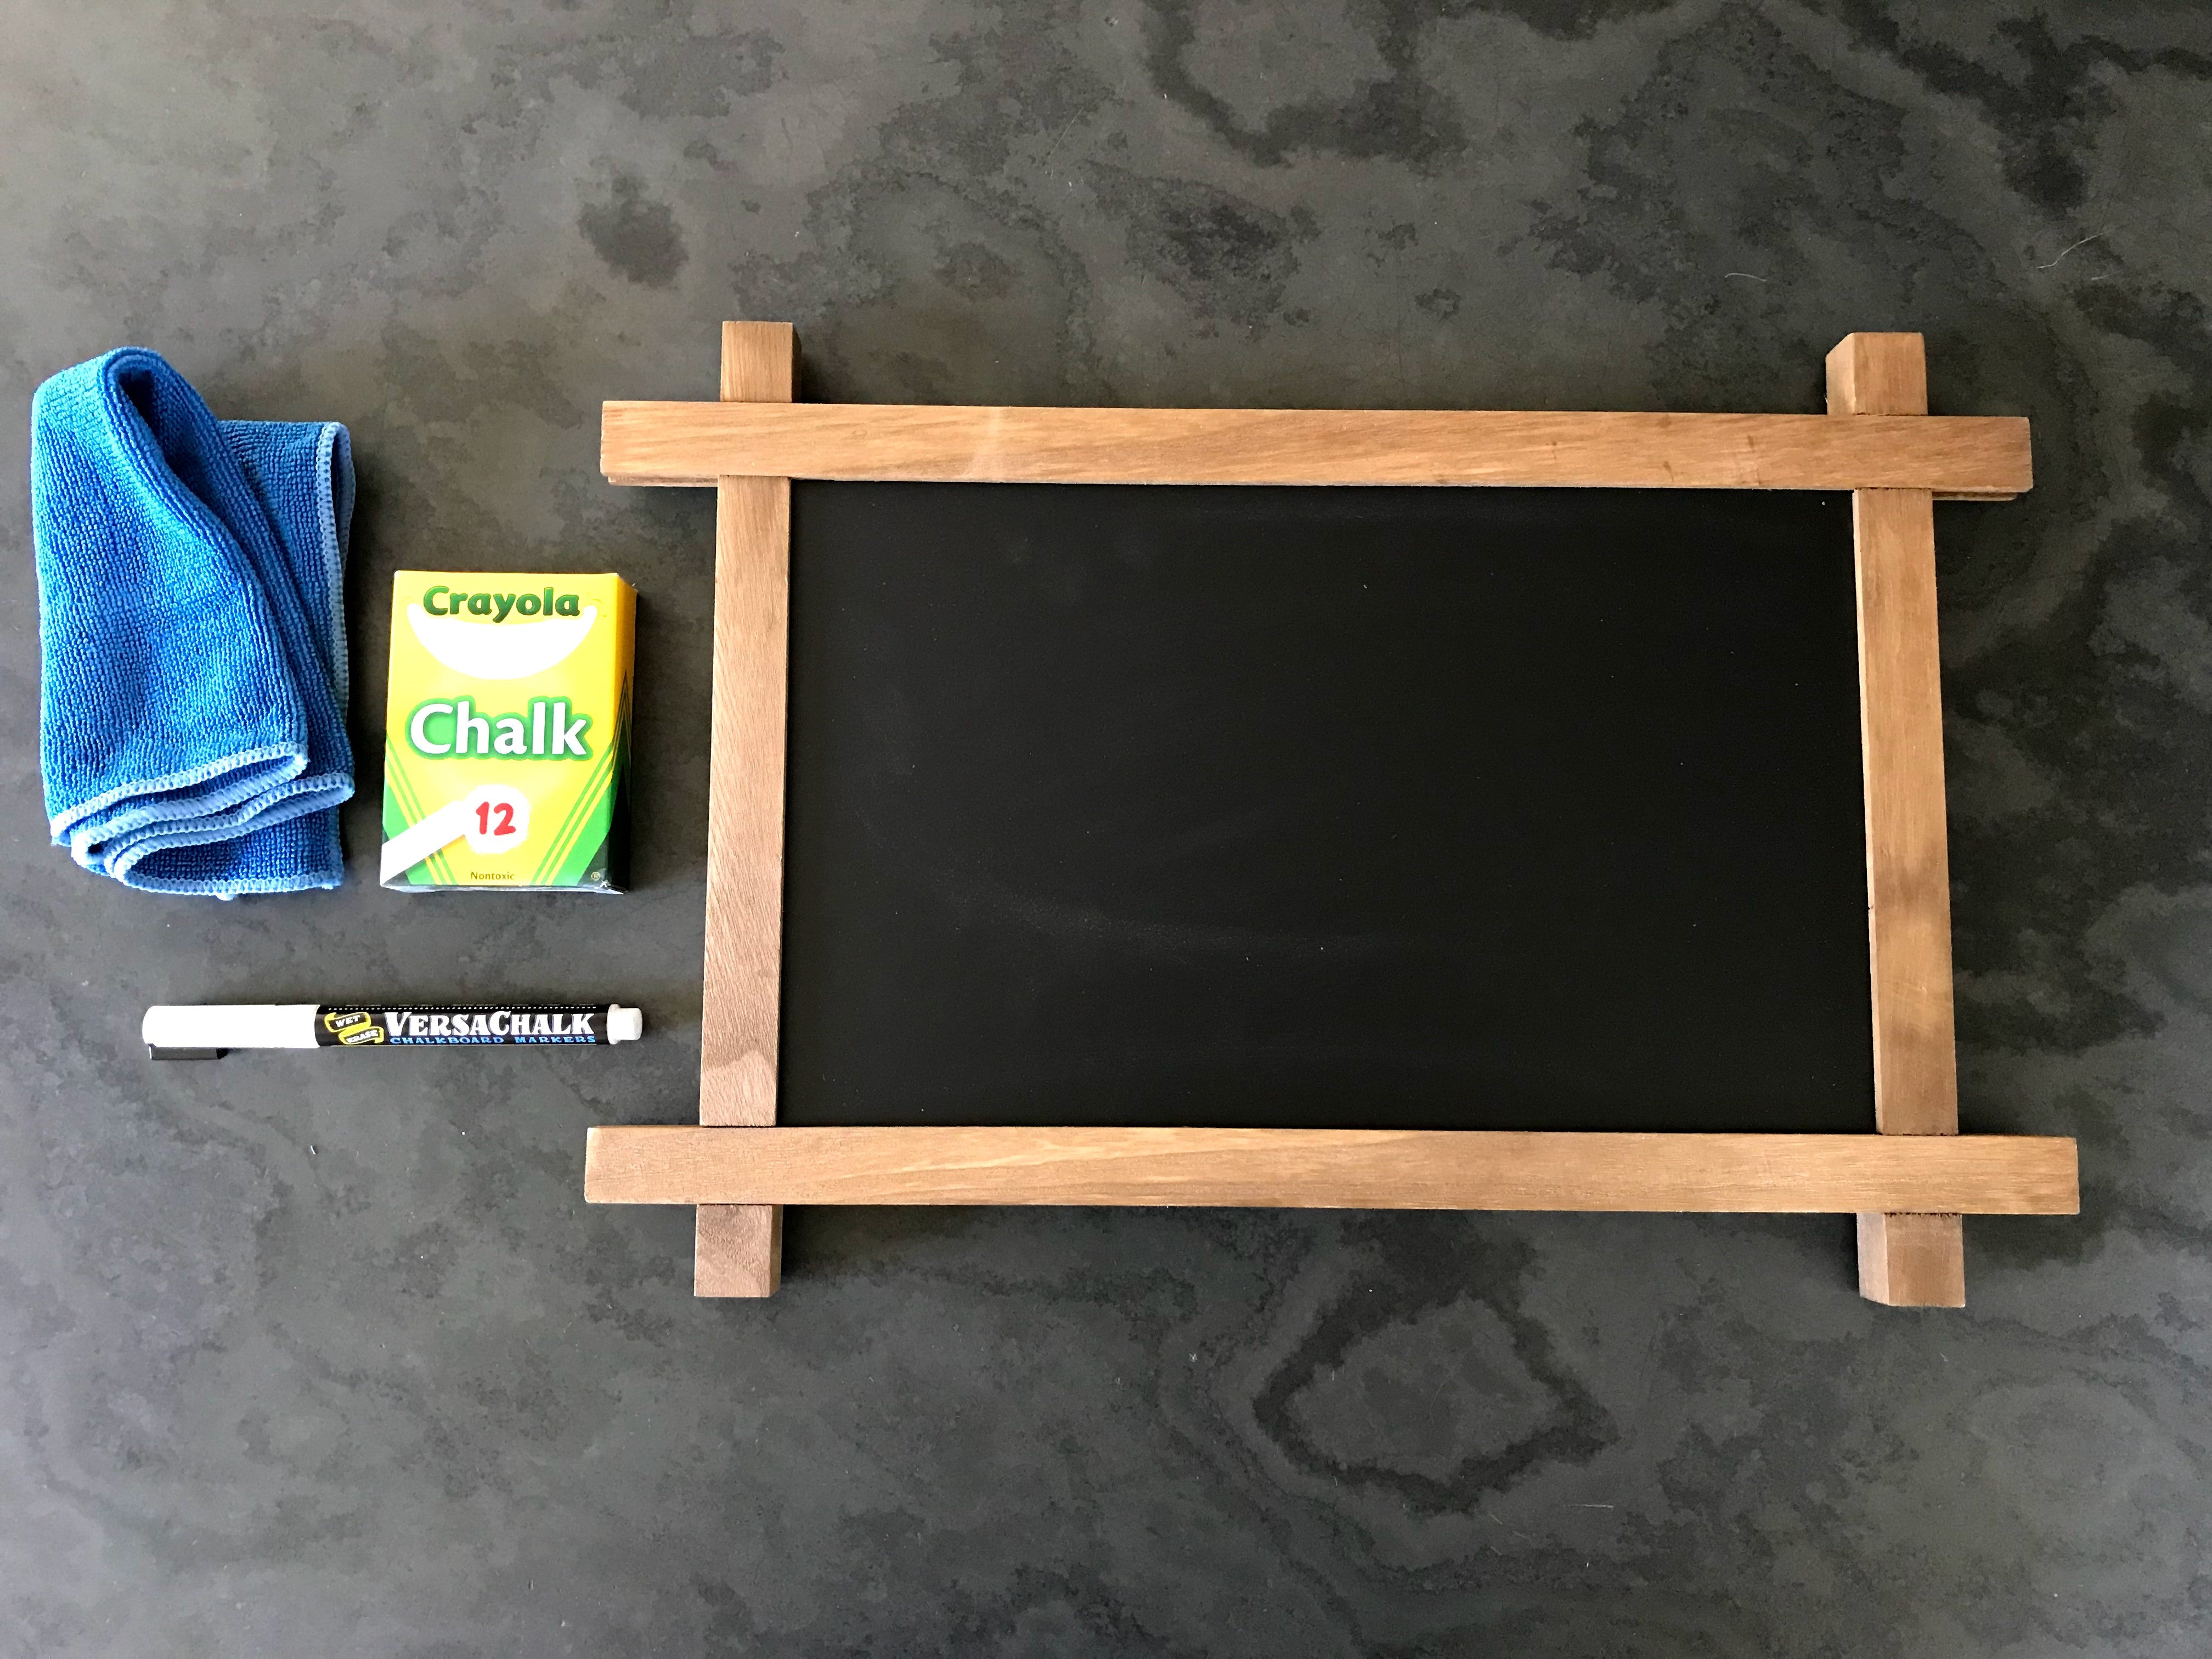
- Using the long side of a piece of white chalk, thoroughly rub the surface of the chalkboard, using an up-and-down movement. Cover the entire surface of the chalkboard.
- Repeat step 2, only this time use a side-to-side movement. You want to make sure chalk dust completely covers the surface.
- Wipe away excess dust with a soft, dry cloth or chalkboard eraser. The surface may appear cloudy, but this is normal. Remember your chalkboards from school and their dark grey color? That’s the color of a well-seasoned chalkboard—not jet black.
- Begin using your chalkboard, and have fun!
Troubleshooting
If you made a mistake while seasoning, don’t worry! Use a lint-free cloth moistened with rubbing alcohol to wipe away the seasoning layer. (If working with a painted chalkboard, be sure to test the rubbing alcohol on a small area first.) Once the seasoning has been completely removed, repeat the step-by-step instructions for seasoning a chalkboard above.
If you’re still experiencing ghosting, here are a few more tips:
- If using chalkboard paint, be sure that the chalkboard cured properly prior to seasoning. Most paints require a minimum of 24 hours to harden prior to use. Always follow the manufacturer’s instructions, and remember that conditions such as priming, humidity, and temperature can impact curing time.
- Avoid rigorous cleaning of your chalkboard. Once the chalkboard is seasoned, only use a dry or slightly damp cloth to wipe away excess dust. This will preserve the seasoning layer.
- Unfortunately, you cannot use dustless chalk or pastels when seasoning a chalkboard. Both contain additives that will keep them from producing the necessary dust.
- You can use colored chalks to season your board! Just remember that the color of the chalk will tint the seasoning layer. While many prefer the classic look of slate grey achieved with a black chalkboard and white chalk seasoning, you can use any color chalk you like.
- If you have seasoned your painted chalkboard, but your chalk is leaving scratches, it’s likely that the chalkboard paint did not cure thoroughly. You can also try using softer chalks.
- Some purchased chalkboards can have a soft or waxy feel to them. If this is the case, try cleaning them beforehand using a damp cloth with a few drops of mild soap and vinegar, and then proceed with seasoning. If the surface still feels waxy, try cleaning with manufactured chalkboard cleanser and then reseason.

