This DIY Chalkboard Vinyl Decor Is the Coolest Retro-Themed DIY Project!
Let us go retro! It is a flashback to the days when the color ensemble bronze and forest green made sense. Dare to go retro with liquid chalk markers! I know a lot of DIY enthusiasts are all for it, especially when they get to experiment with a combination of colors like mint green and salmon pink, copper and aqua, orange and cream, and many more!
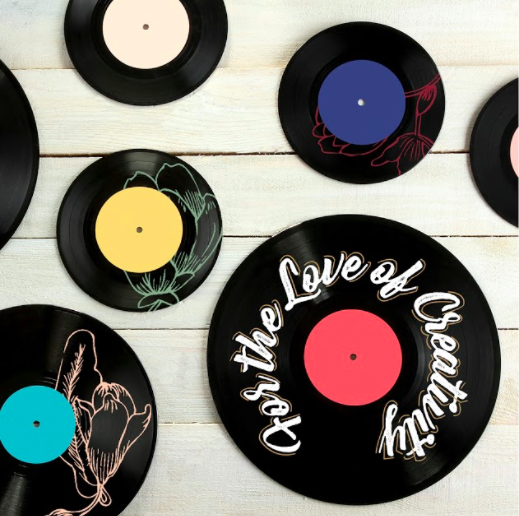
Aside from the era's colors, going retro also means pulling out the old vinyl records. Over the weekend, I was able to score some vinyl pieces from a garage sale. These vinyls can no longer be played because they are scratched to the core. Which made them affordable purchases and a DIY gold mine for chalkboard art!
Do you dare to go retro with chalkboard vinyl decor? This is perfect for a theme party, statement pieces for your bedroom or living area, or an awesome gift for your friends who love anything vintage.

Stuff You Need To Make The Chalkboard Vinyl Decor:
- A set of liquid chalk markers. A combination of different colors is a must-have in order to achieve the retro vibe.
- Vinyl records. If you are able to score different sizes from a garage sale, that's perfect! Make sure they are no longer playable. If you are not able to find vinyl records, you can also use vinyl sheets instead and cut them into the classic circular shapes of vinyl LPs and singles
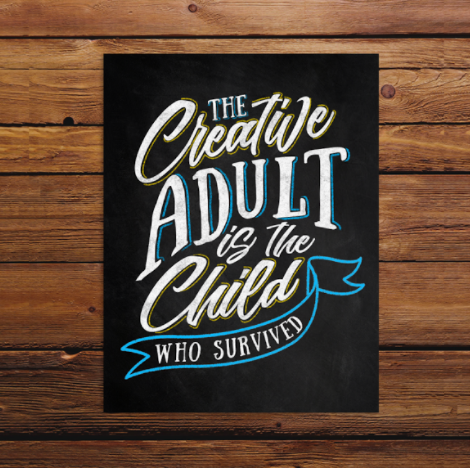
- Retro quotes or vintage designs you want to employ. Anything goes!
- Bring your DIY energy to the mix!
In my case, the chalkboard art I created will be used as decoration pieces for a friend’s diner. Imagine a comfy restaurant with leather seats and high chairs, plus a juke box at the far corner. Behind the juke box is an empty white wall—the perfect place for a few pieces of chalkboard vinyl decor.
First things first, choose the liquid chalk markers you want to use. There are no mistakes in this DIY activity! Every color combination you can think of can create a retro and vintage feel. It works best to use two or three colors on each "disc".
DIY Chalkboard Vinyl Decor Step by Step:

- You may need to remove the label at the center of the vinyl record first. Some labels can be easily peeled off. For others, you may need to dampen the label with a wet cloth in order to remove it. If the label can be written over easily, you can just use a liquid chalkboard marker of your choice to cover it. One vinyl record I used had a label that was not too obvious when colored over, so I used a blue liquid chalkboard marker to cover the whole printed circle. The solid color will surely pop on the wall!
- Now that you have colored or removed the label, it is time to design your vinyl. You can choose any design you want. You can even use quotes if you wish. In my case, the diner sits right beside a beach, so I chose cool ocean colors and flower designs. Use a different liquid chalk marker color combination on each disc. To make your design pop, draw the outline of a flower instead of coloring it in. The black vinyl will make the outline stand out.
- And you’re done! All you need to do is hang your DIY chalkboard art on the wall or give it as a gift to a friend who loves vintage.
You can never go wrong with liquid chalk markers and chalkboard vinyl decor. Plus, you can just wipe the surface clean if you make a mistake or want to try a different design.
Are you having a retro themed summer party over the weekend? These chalkboard vinyl decors are just the pieces you need for your wall.
Try this DIY chalkboard art now and go retro!