How to Create an Easy DIY Holiday Chalkboard Wreath to Greet Your Guests
Let an artist teach you how to blend an old tradition with modern chalk art tools to create stunning holiday décor.
by Melissa, aka "Disco Bumblebee"
Doing a DIY Christmas Decor project is a great way to kick off the holiday season. The trouble is, the season becomes hectic and stressful so quickly. The calendar fills up in a blink, and it can be difficult to set aside the time to create something.
The secret is to find a project that is simple yet eye catching, and I’ve got just the thing for you.
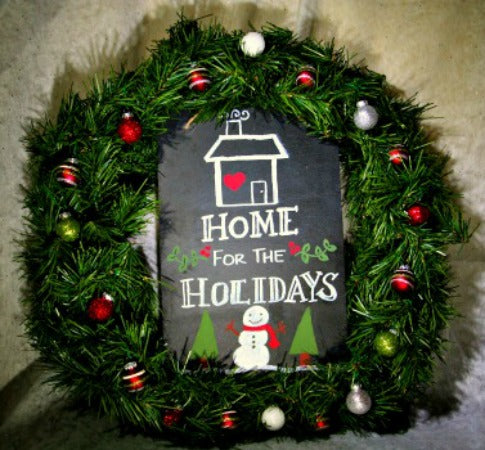
This year, I decided to break out my favorite crafty tools, liquid chalk markers. Using these, a slate chalkboard and a wreath, I created a festive decoration to greet everyone who enters my house this holiday season!
A unique chalk art wreath is surprisingly easy to make — let me show you how.
What You Need for this DIY Holiday Project
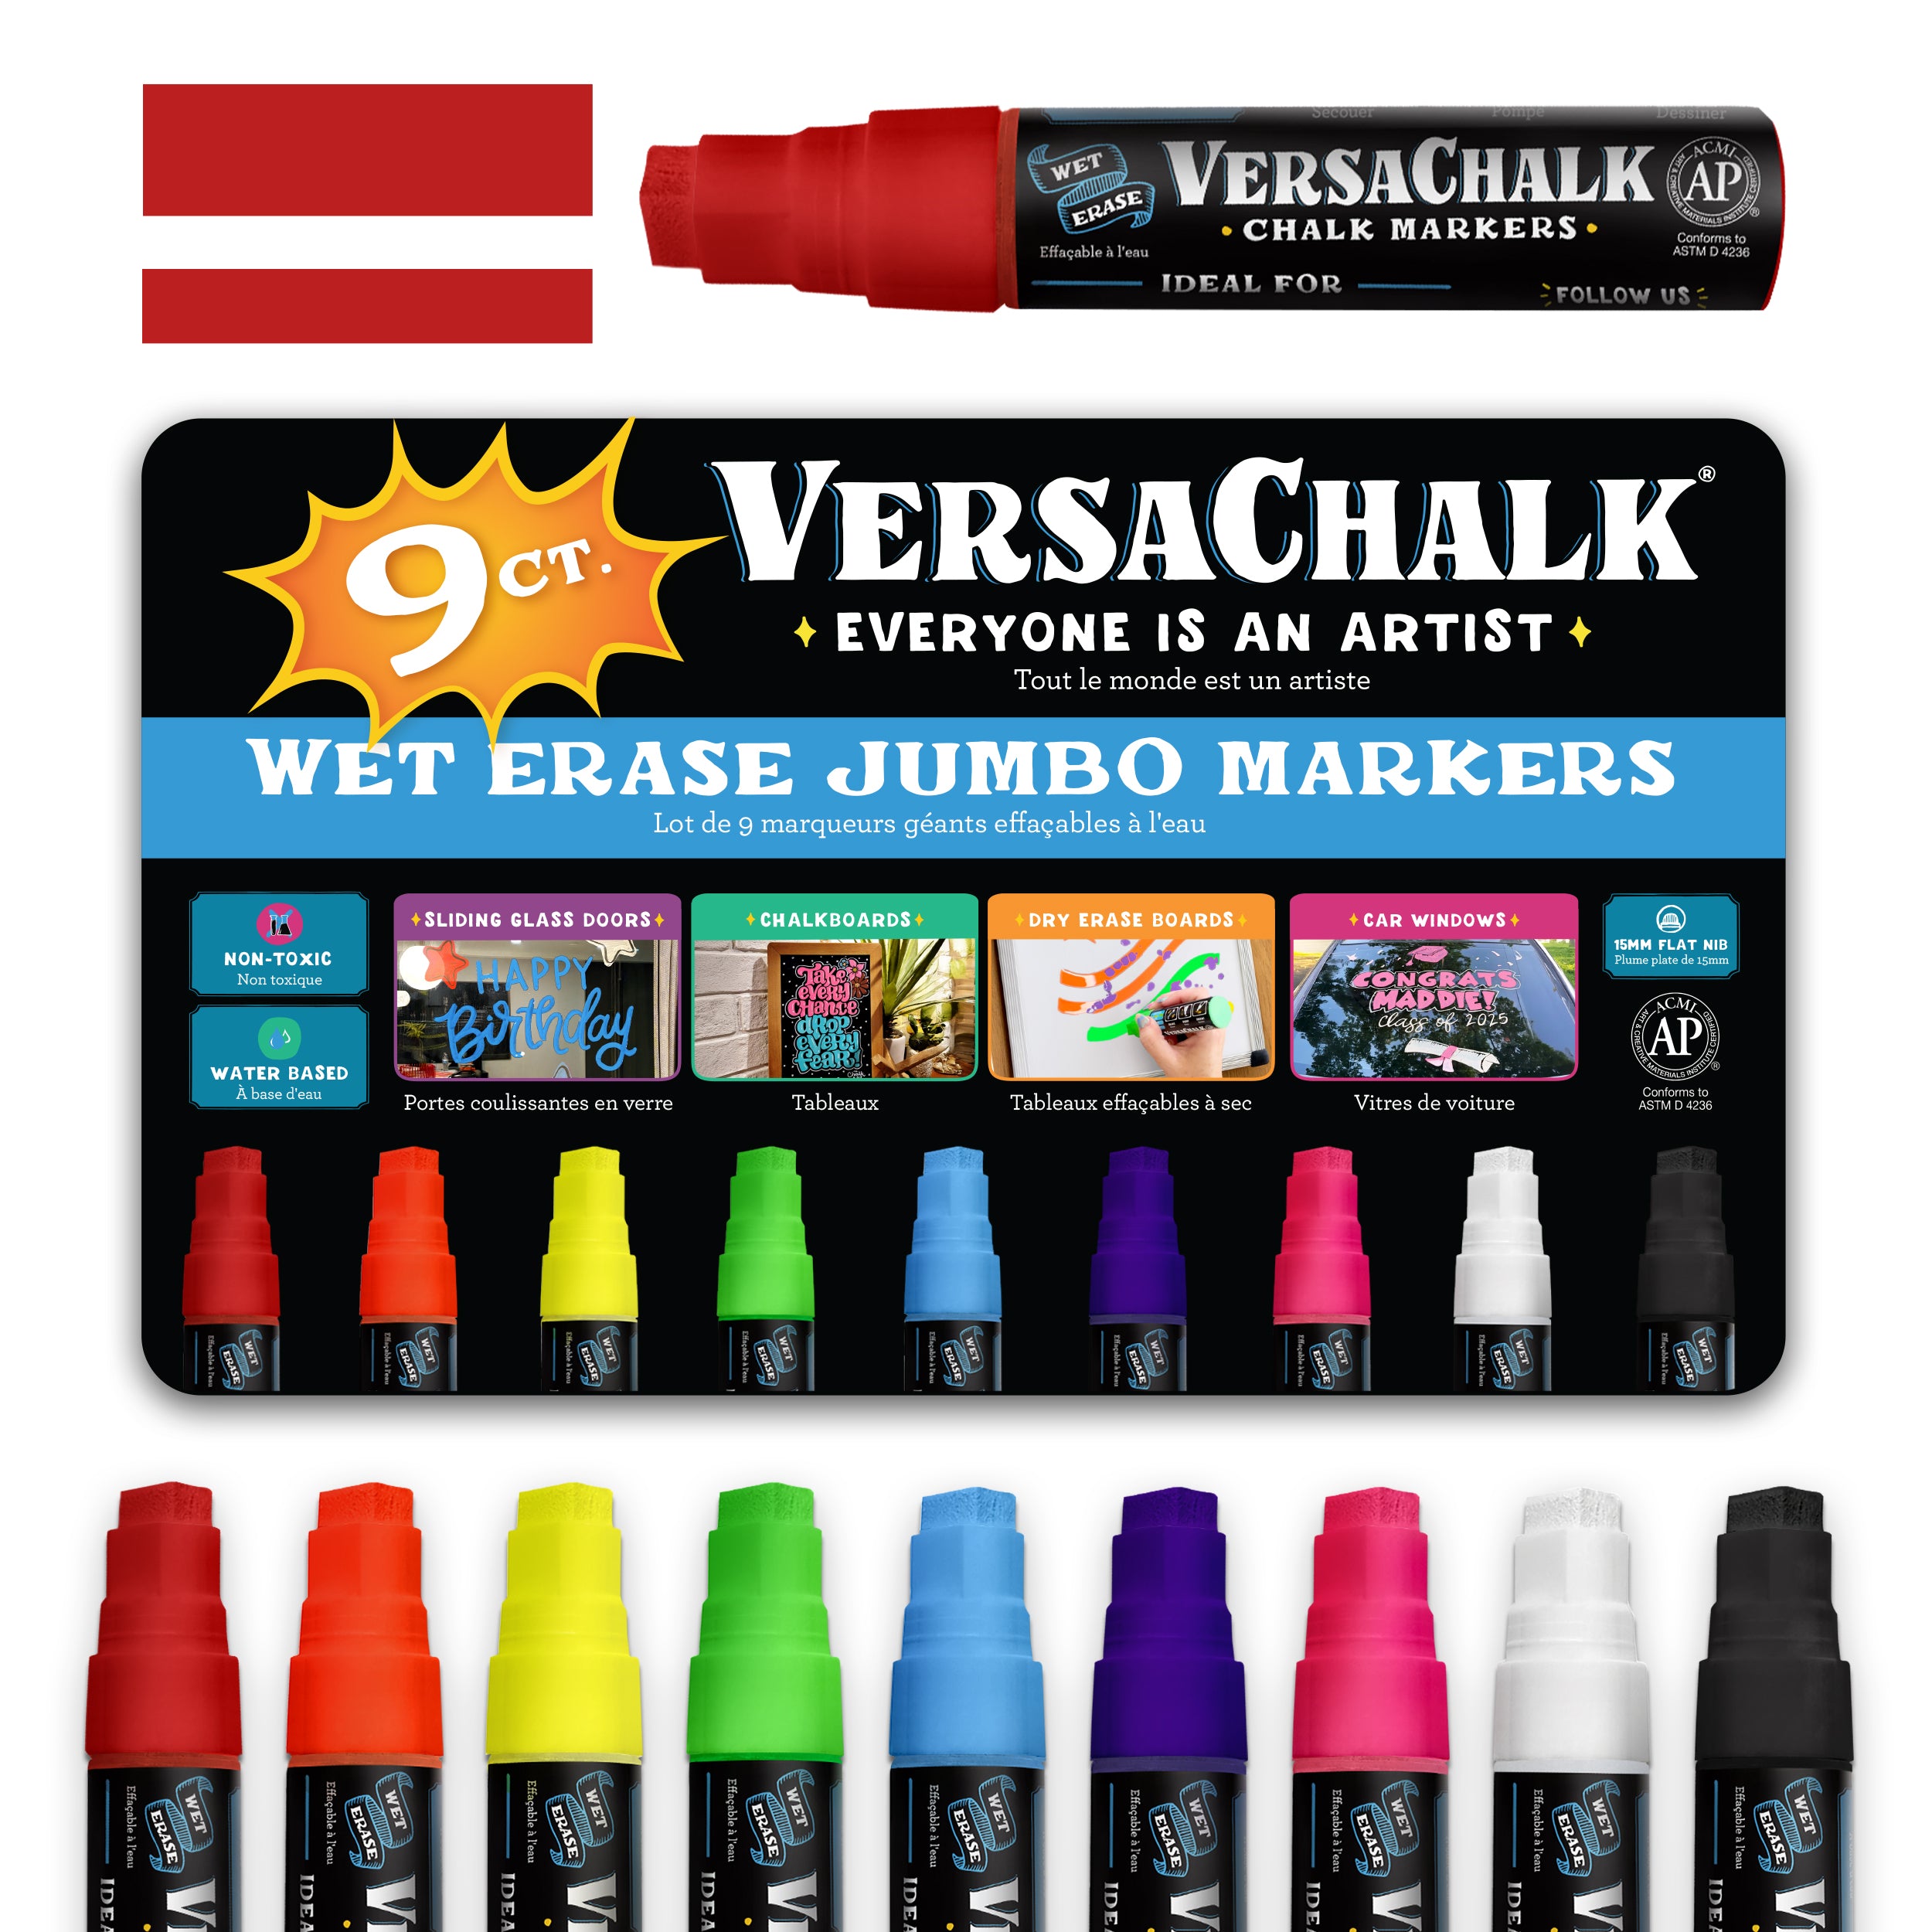
To create your DIY holiday wreath, you will need classic chalk markers. I like to use both fine tip and bold tip markers, so that I can quickly fill in large shapes but also draw clean, crisp lines. You can also use reversible tip markers, which allow you to switch between bold and chisel tips. No matter which tips you use, the colors are bold and eye catching!
You will also need a wreath, which can be fresh or artificial. I have furry friends that like to eat live plants, so I opted for artificial. The branches of an artificial wreath can also be arranged to help secure the chalkboard.
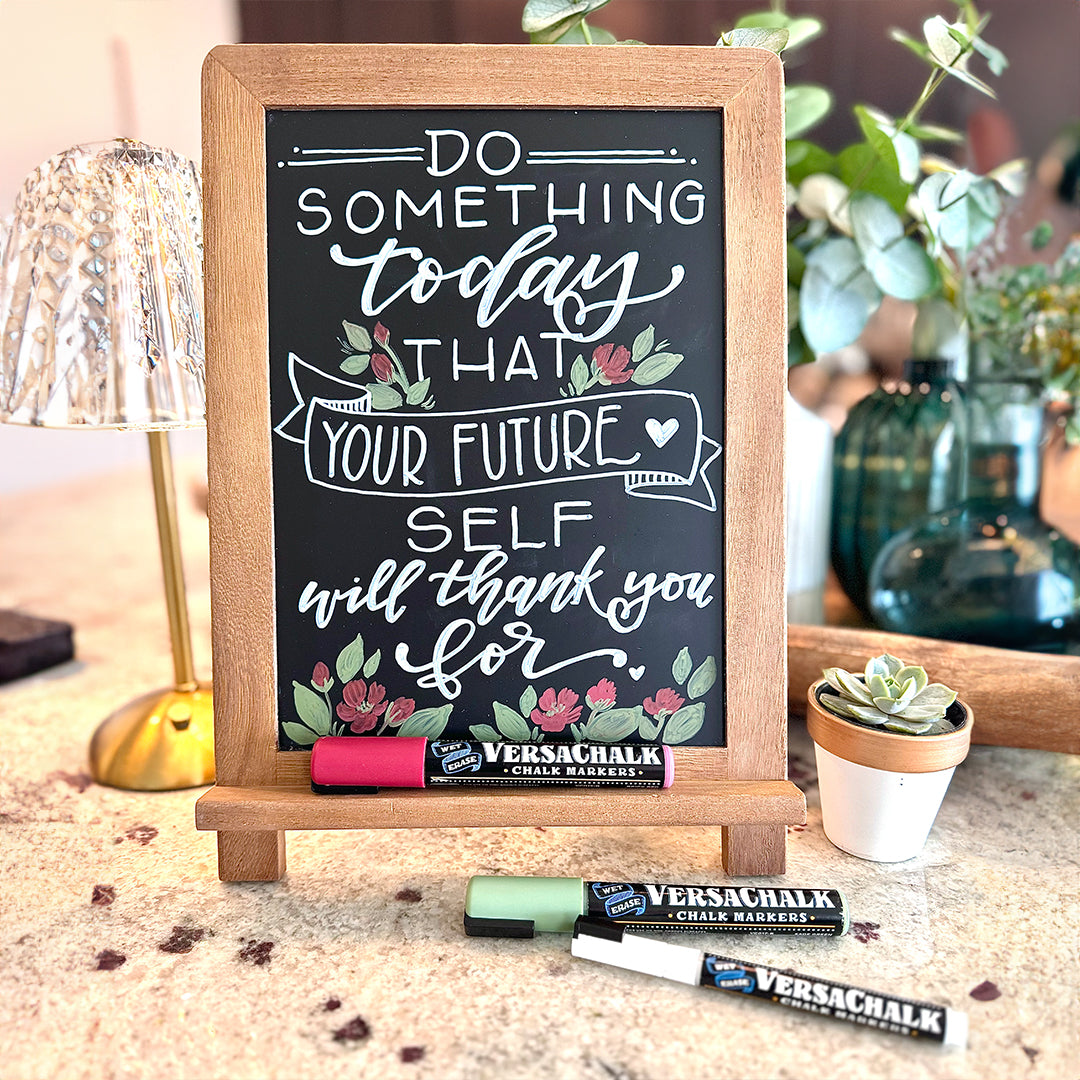
Finally, you will need a chalkboard to fit inside your wreath. My Versachalk Rustic Slate Chalkboard fit perfectly! If you don’t have a chalkboard, you can create your own using a simple sheet of cardboard and chalkboard contact paper or chalkboard vinyl sheets.

3 Simple Steps to Your Own Holiday Chalkboard Art Wreath
- Before you create your liquid chalk art, you need to decide whether you are going to place the chalkboard in front of, behind or in the middle of the wreath, which will affect how much of the writing surface is visible. I chose to nestle the chalkboard into the wreath so that it would be secure but I could still decorate most of its surface.
- Once you’ve made that decision, it’s time to get to work with your liquid chalk markers. Draw a festive scene and/or add a holiday inspired message to your chalkboard.
Need some ideas for your message? Try these:
- It’s the most wonderful time of the year
- Warm and fuzzy holiday wishes
- Joy to the world
- May your days be merry and bright
- Tidings of comfort and joy
- Welcome to our winter wonderland
Tip: Don’t be intimidated by the idea that you have to use fancy lettering. I am still a lettering beginner. Honestly, I let the different marker tips do most of the work for me.

To decide what to draw, simply think of what the holiday season means to you. When I think of winter holidays, I think of my home and family. Images of wrapping gifts by the fire, decorating the tree, bundling up in warm, knitted goodness and baking cookies come to mind. You might think of grandmother’s house, snowmen, or evergreen trees.

You can leave your wreath plain or add a few decorations such as ribbons, ornaments, or pinecones.
I didn’t want to make mine too busy since I wanted the message to be the main focus, but thought tiny bulb ornaments added a nice accent.

Your Home Will Be the “Chalk” of the Town!
There you have it, a holiday decoration that will stand out from all the rest. See, I promised it was super easy!
One of the best things is about using liquid chalk markers instead of traditional chalk is that your artwork won’t smear or smudge, even if someone or something (like that tree that looked so much smaller when you bought it) rubs against the chalkboard. There will never be a need to touch up or redo the drawing.
On the other hand, if you decide that you want to change your holiday greeting or design, the liquid chalk marker ink can be easily wiped away with a damp cloth in moments. You can even add a changeable element to your artwork, like a “countdown corner” for the kids.
I hope I’ve inspired you to give this easy DIY Holiday project a try. It’s a wonderful way to spread a little holiday cheer, and to warmly welcome your family and guests throughout the holiday season!
Written for VersaChalk by Melissa of discobumblebee.com.

