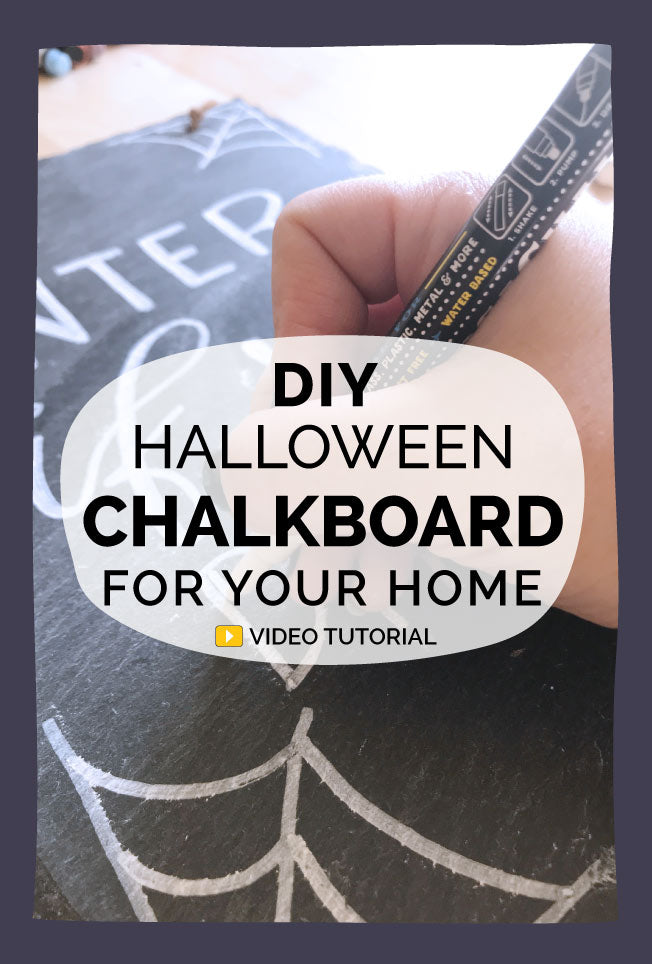
Super Easy To Create Spooky DIY Halloween Slate Chalkboard For Your Home
Create your very own Halloween themed door hanger using chalk markers
With Halloween just around the corner, I swear time is speeding up, it's time to decorate the house for this spooky holiday. Halloween is a very exciting time of year in my family, my daughter is a fan of all things spooky and always want to decorate the house with scary things.
Today you will learn how to make this cute spooky halloween door hanger in six easy steps.
It's super simple and you only need a few supplies.
Supplies you will need:
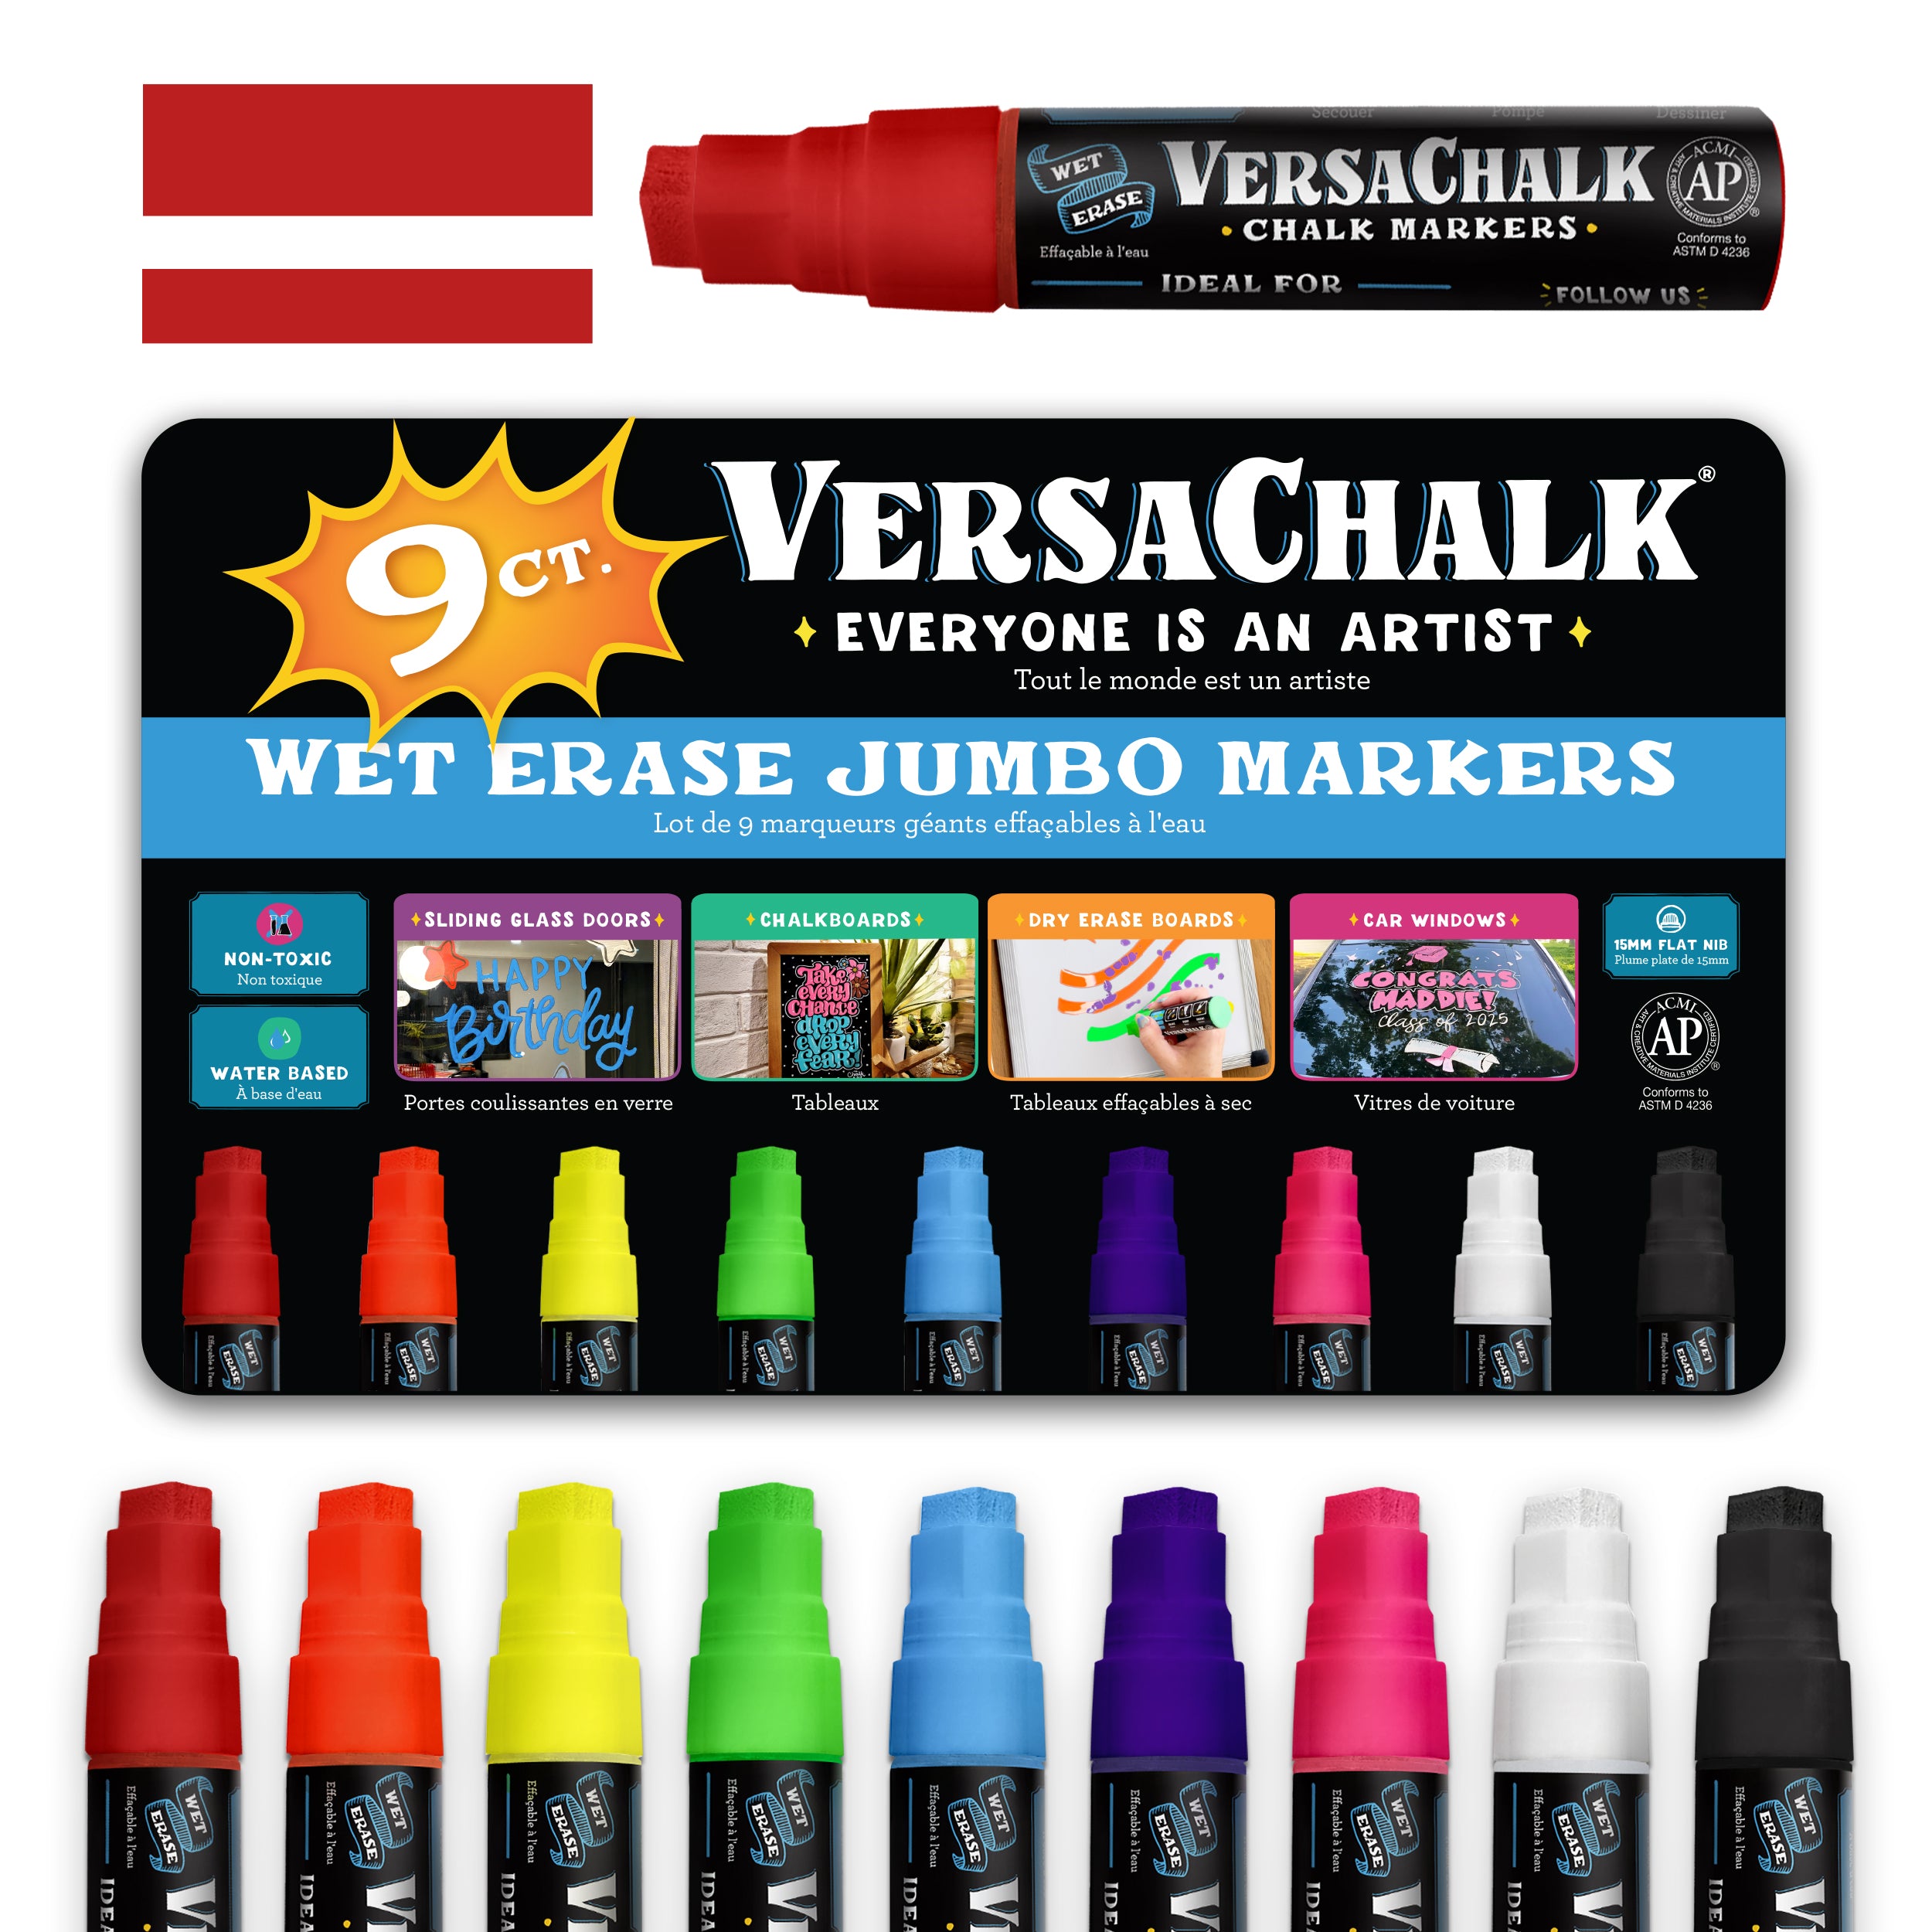
1. Chalkboard marker (I'm using VersaChalk)
2. Chalkboard (again I'm using VersaChalk slate board)
3. Chalk (a small piece for sketching ideas)
4. Paper towel and water
Now, you are ready to begin? You can watch the process video, or just follow the written steps below.
Follow these easy 6 steps
to create your own Halloween
lettered chalkboard

STEP 1
The first step is to prime your surface. Take your piece of chalk and spread it all over the chalkboard, then take off excess with some paper towels. This will protect the chalkboard and make taking off chalk marker easier.

STEP 2
Draw spider webs in all 4 corners of the chalk board. They're really simple. Just draw 3 lines coming off of the corners, and then connect them with a curved line.

STEP 3
Sketch out your phrase in chalk, not chalk marker. This way it will be easier to wipe off any mistakes or move your layout around the board.

STEP 4
Once you are satisfied with your lettering and design, grab your chalk marker and go over everything. Make sure to start at the top and work your way down, so you don't smear the marker. It takes about a minute to dry to touch.

STEP 5
Add some detail. Make your letters thicker and add some serifs. I also added a little spider to make it more fun.

STEP 6
You can call it done, or you can add a bit of color to your piece. I decided to add a purple drop shadow to my design.
ALL DONE! That was super easy and now you have something handmade for your home decor.
Originally posted at twoeasels.com
Guest post by: Weronica Zubek

