
DIY Chalkboard Spoon Butterflies Are the Cutest Back-to-School DIY Pro
Back to school is upon us again, and keeping with the spirit of the season, we have another great chalk art DIY project that kids will love!
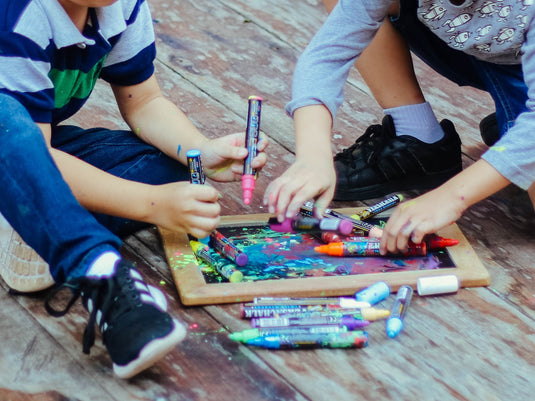
Today’s project: Spoon Butterflies using liquid chalk markers! This is a perfect project for teachers for a classroom craft, or an activity a babysitter can do with the kids if parents want a night out, or an after school activity to entertain the kids to keep them from swinging from the chandeliers.
DIY Chalkboard Spoon Butterflies to Jazz Up Back-To-School Season

For me, butterflies signify a new beginning, which is perfect for back to school season. It is time to start a new school year and spread those big, bright and bold wings! Plus, this is a chance to use recycled materials such as plastic spoons. I have some left over from a summer family picnic!
You only need a few things to make this DIY project:
- A pair of scissors
- Spoons, in any size
- Fuzzy sticks (such as pipe cleaners) for the butterfly’s antennae. Don’t have fuzzy sticks on hand? Straws or paper clips can work, too.
- Self-adhesive chalkboard contact paper — a perfect base for our project. We will use it for the butterfly’s wings. This is the base I use most for chalk crafts, simply because it is easy to remove and reposition if I make a mistake.
- Neon liquid chalk markers in different colors to color the wings
- Black liquid chalk marker
- Your imagination!

Let’s get started:
- First things first, we need to make the wings. Take two pieces of chalkboard contact paper together and fold them in half. One one side, draw an outline of a butterfly’s wings. To make sure you get your measurement of the wings right to fit your spoon, mark the length of the spoon from the neck to the end of the handle on the sheet.
- When you’re done making the outline and cutting it out, you will have two pairs of butterfly wings of the same shape and size. It is time to color them using your neon liquid chalk markers! Be creative and let your imagination run free. After all, there are hundreds of different types of butterflies around the world with different wing shapes and colors. Somewhere, there is one as fantastical as the wildest color combination you can dream up!
- Once you’re done coloring the butterfly wings, peel the backing off the chalkboard paper, position the butterfly’s spoon body (with the back of the spoon facing you) at the center of the first pair of wings and stick it on.
- Now grab your fuzzy sticks (or substitutes) and create the antennae at the top of the spoon "head," attaching them to the front of the spoon (the side that was facing away from you when you stuck the spoon on the paper). Make them twirly or straight, as you choose. Don't worry any remaining length of the fuzzy stick. Just run it along the spoon handle, and it will be hidden when you attach the second pair of wings.
- Using the second pair of wings, repeat step 3. Position the second sheet on exactly on top of the first pair of wings to hide the remaining antennae sticks between the sheets.
- Using a black liquid chalk marker, draw a smiling face on the head of the spoon.
And voila! You now have your very own DIY chalkboard spoon butterfly. It is a super fun and rewarding craft in the schoolroom or at home!
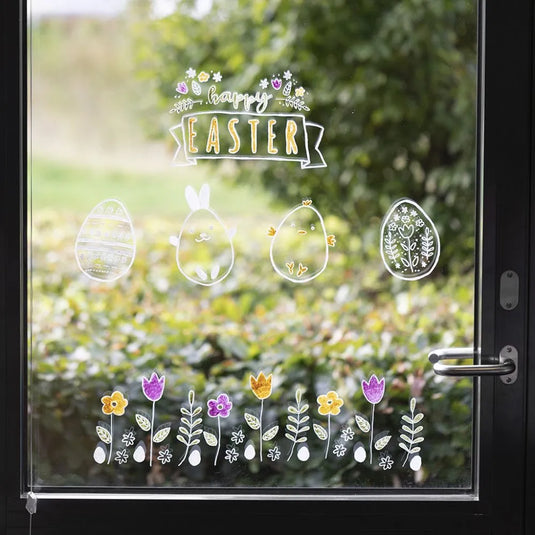
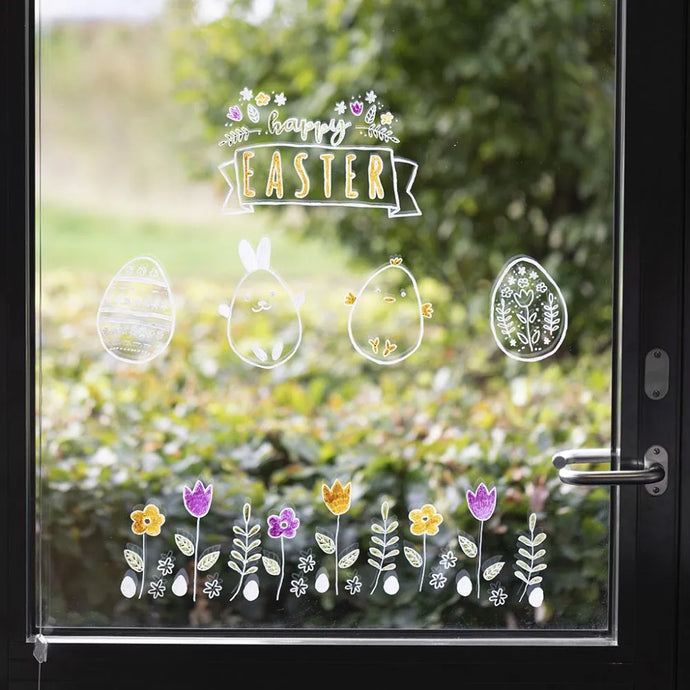
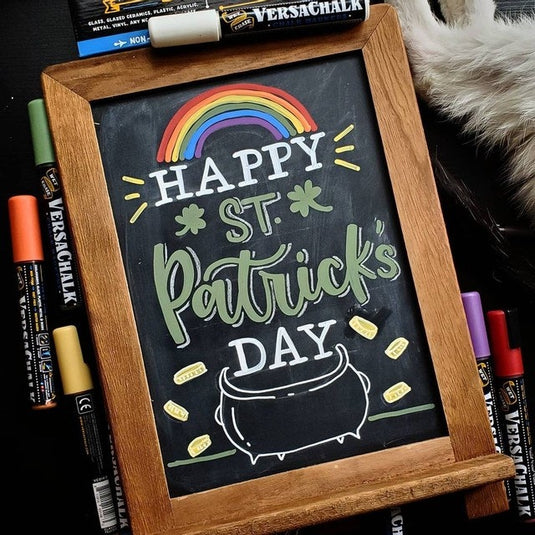
Further proof that there are so, so many things you can do with liquid chalk markers! The possibilities endless!
Try using neon liquid chalk markers today and never be afraid to make mistakes — especially if you have a cleaning kit on hand!