
How To Use Contact Paper
Chalkboards are the “hot new old” idea in décor for your business or home. Martha Stewart dedicated an entire article on her website to the vast creative possibilities chalkboards offer. But the best chalkboards aren’t cheap, and safely mounting a large one on a wall is no mean trick.
With Versachalk’s chalkboard contact paper, you can turn any smooth surface into a high quality chalkboard easily and affordably. Soft, thin and pliable, the paper can be cut into any shape and provides an ideal surface for both liquid chalk markers and traditional chalk, just in case you crave that rustic look. If you follow the simple guidelines provided below, both applying and removing the paper will be a snap, with no damage to walls and no cleanup. Chalkboard paint can’t compete with that!
Chalkboard contact paper makes clean, complete erasing easy, too! Simply wipe off liquid chalk marker ink with a damp cloth or paper towel.
Here is our step-by-step guide on how to use chalkboard contact paper to ensure best results.
How to Apply Chalkboard Contact Paper to a Surface
- Flatten. Cut a piece of the desired length off the roll and lay it flat. Weigh down the entire sheet with books or other heavy items, paying careful attention to corners, where curling tends to occur.
- Shape. Cut the sheet into any shape your heart desires. (And yes, that includes a heart shape!) To cut perfectly straight lines, flip the paper over and use the grid on the back as a guide.
- Choose a smooth surface. The paper won’t adhere well to walls with a lot of texture. The surface doesn’t have to be smooth as glass, but you shouldn’t feel any significant bumps or depressions as you run your hand over it.
- Clean. Give your chosen surface a quick wipe down with a clean cloth so you’re not trapping dust between the surface and the paper’s adhesive. If the surface is noticeably dusty, use a damp cloth first and allow time for drying before giving a final wipe with a dry cloth.
- Peel. Remove the paper backing to expose the adhesive.
- Apply. If you are applying a large piece of paper, make this a two-person job; start at one end of your shape and work your way across, removing the backing as you go. Once you’ve affixed the paper to the surface, smooth out any air bubbles by pushing them towards the edge with your fingers or the edge of a credit card.
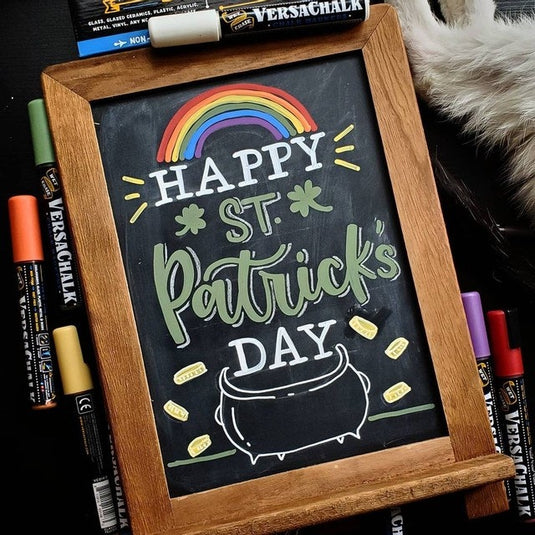
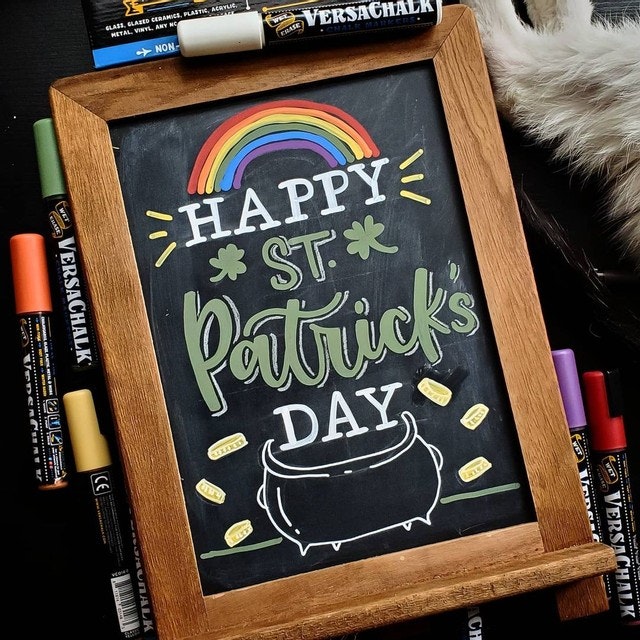
If you follow these steps, your fabulous new chalkboard will look like this:

Priming the Surface
As we said, chalkboard paper is designed to ensure easy erasing of both liquid chalk markers and traditional chalk. We want to be sure, however, that throughout its long life of three years or more, your chalkboard contact paper will never be haunted by “ghosts” (stains that occur when chalk marker ink is not fully erased). Priming the surface with traditional chalk will create a fine coating that ensures you’ll never need to give erasing a second thought.
Here are the steps for priming:
- Coat. Cover the entire surface of your contact paper with chalk.
- Erase. Using a dry cloth, wipe away only the chalk that comes off immediately.
-
Even out. Rub the remaining chalk residue with a clean, dry rag so that it cannot be seen but leaves a fine coating over the entire surface.
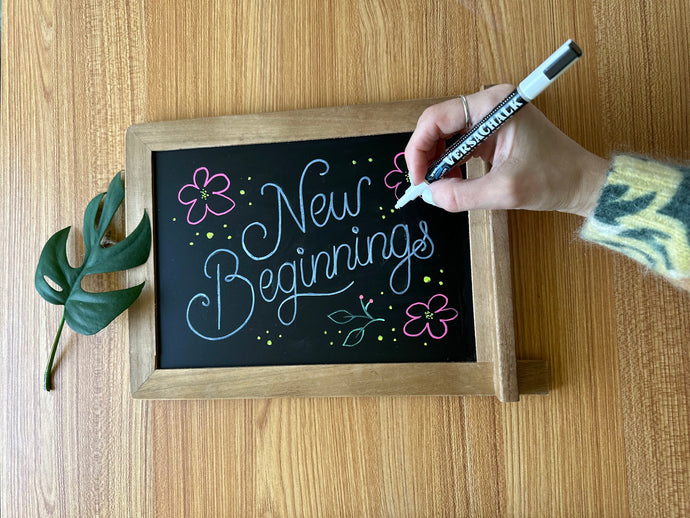
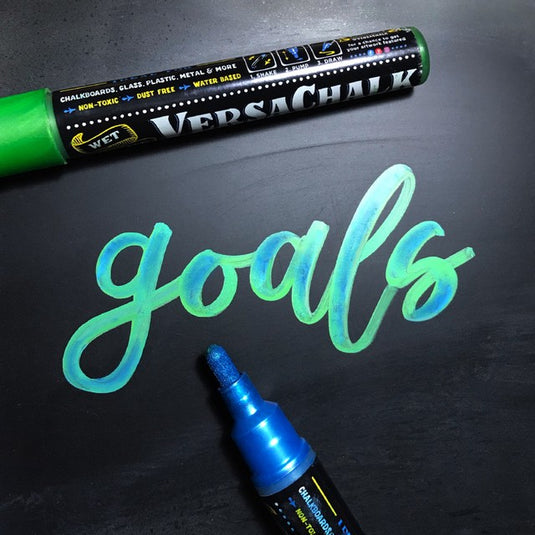
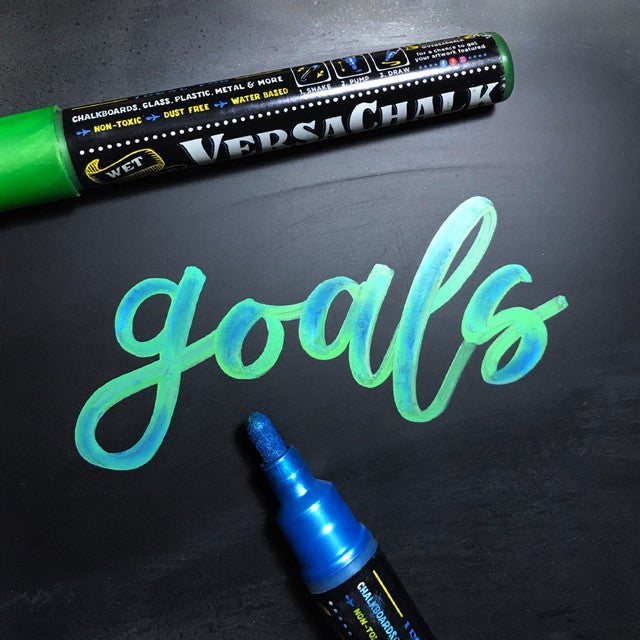
- Start writing! When using liquid chalk markers, do not press too hard. Pushing the marker tip, especially the chisel tip, too firmly into the surface can cause tiny dents that will trap ink, making erasing more difficult.

Surfaces to Avoid When Using Chalkboard Contact Paper
Part of the beauty of Versachalk’s chalkboard contact paper is that it doesn’t require a “long-term commitment.” You can easily remove the contact paper from a wall or other surface without causing any damage, and reuse it somewhere else because the adhesive will remain intact. Redesigning your creative space is quick and easy whenever new inspiration hits!
However, there are a few types of surfaces that are not well suited to the use of chalkboard contact paper. To be certain that no damage to walls occurs and to ensure optimal performance of your new chalkboard, avoid applying the contact paper to the following surfaces:
- Newly painted surfaces, including those that seem dry but are not fully cured (that is, the paint feels dry to the touch but may not be fully dry below the surface)
- Unpainted or unsealed drywall, or drywall less than one year old
- Highly textured surfaces (See above, “Choose a smooth surface,” for a description of how to determine if a surface has too much texture.)
- Surfaces coated with high gloss or scrubbable paint
- Walls in high-moisture areas, such as bathrooms
- Walls with old paint that has begun to crack or blister
Stick It on Tight and Let Your Imagination Take Flight
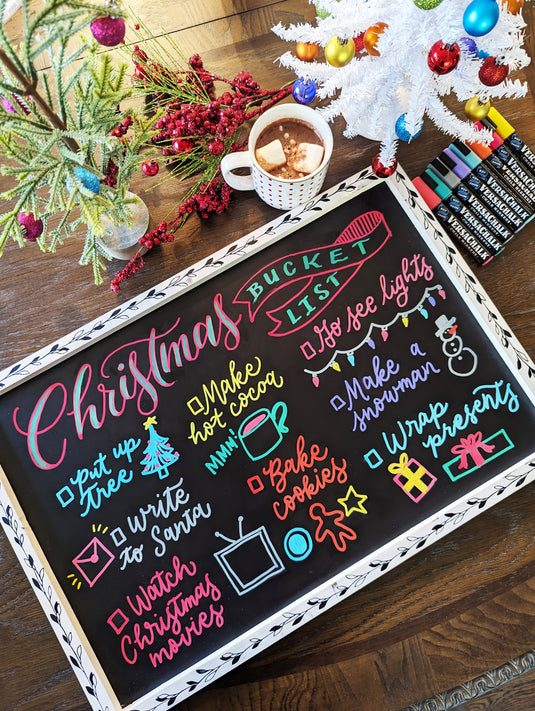
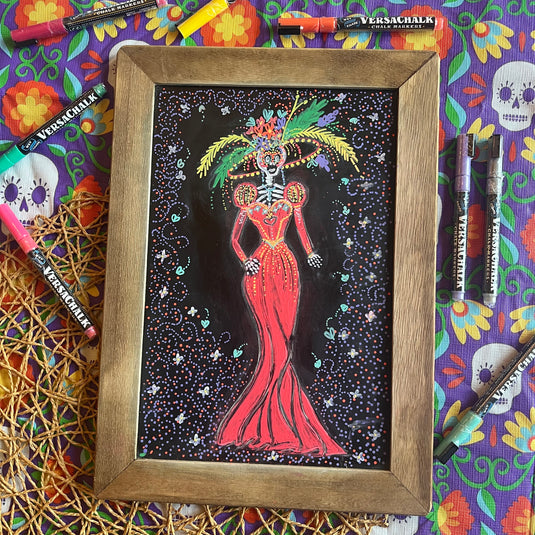
Martha Stewart’s chalkboards serve as wall calendars, mudroom murals, message centers, pantry reminders, customizable plant pots for special events, and much more. Now that you know how to use chalkboard contact paper, you can turn your business or home into a vast canvas that dazzles customers or friends, feeds your creative side, and serves countless practical purposes to keep your work and life organized.
We can’t wait to see the ideas you dream up with a whole array of chalkboard surfaces at your disposal every day!
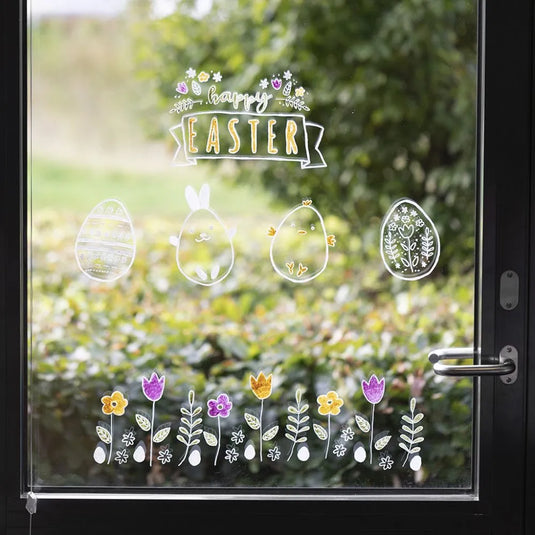
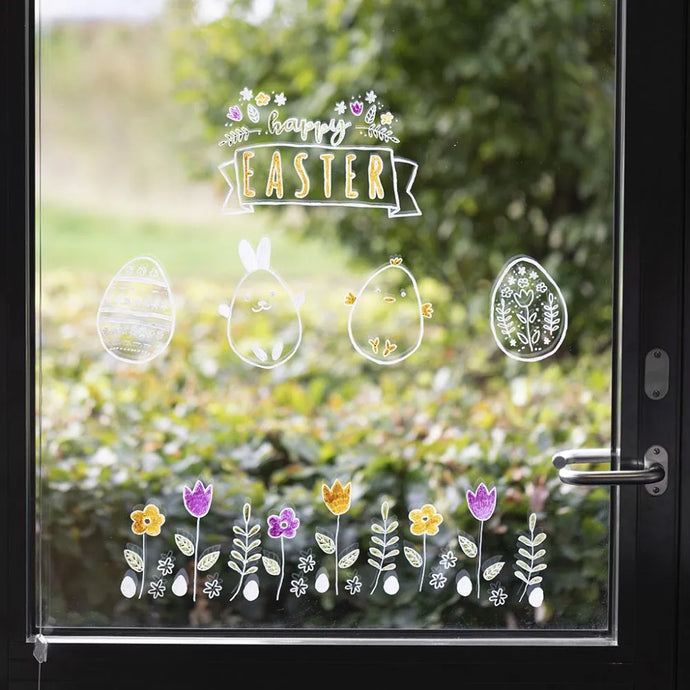
Turn any surface into a chalkboard!


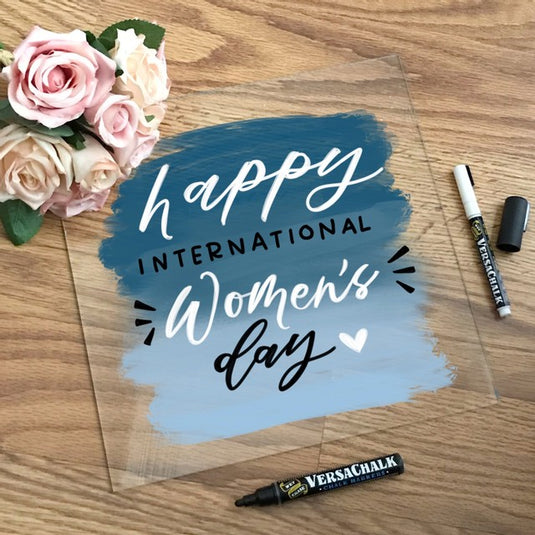
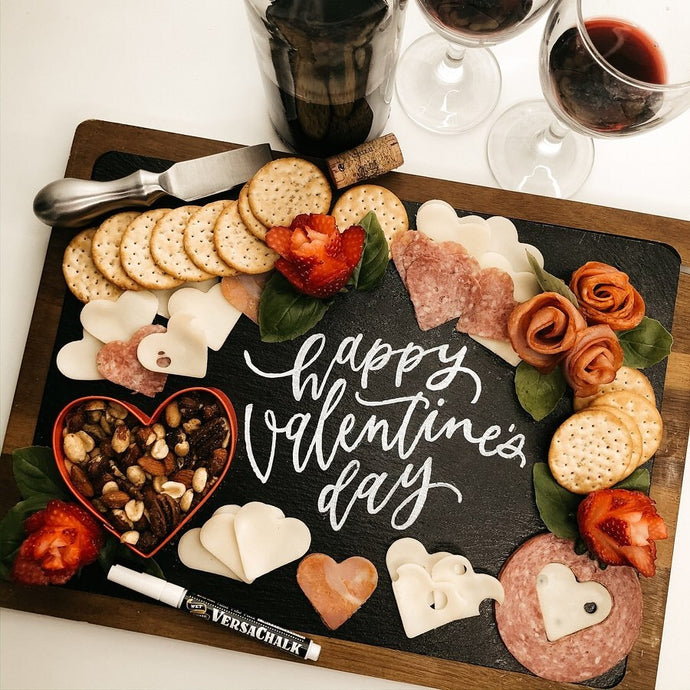
Chalkboard contact paper works great on any smooth surface, including glass, plastic, ceramic, vinyl, acrylic, doors and smooth walls that have not been recently painted. Grab some contact paper or adhesive chalkboard vinyl sheets and get chalkin' today!